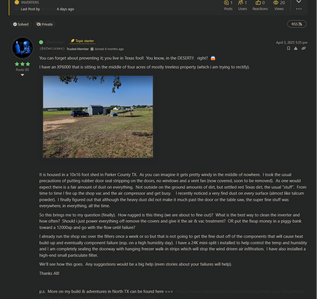
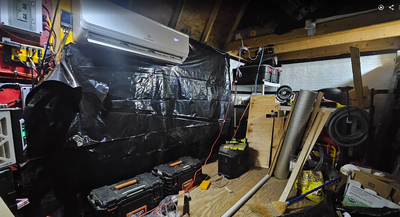
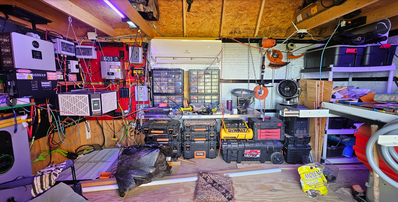
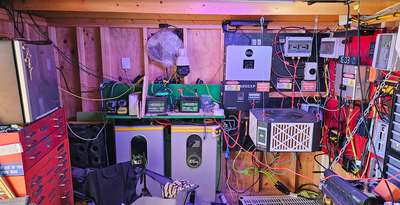
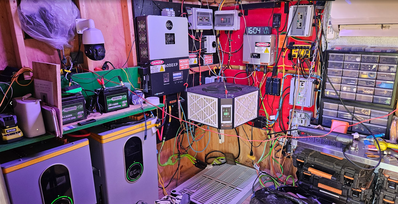
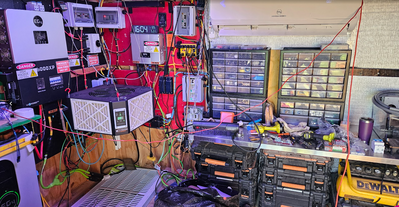
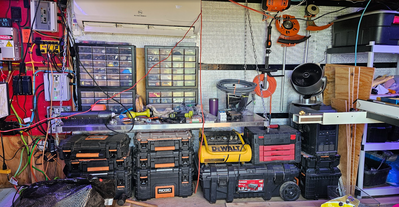
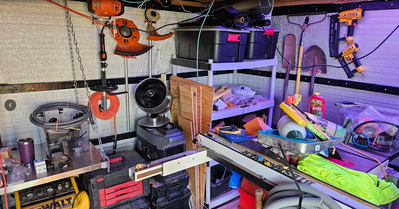
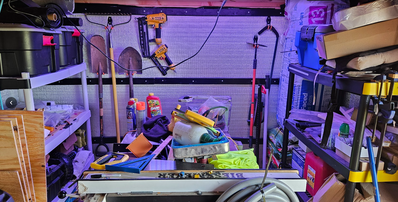
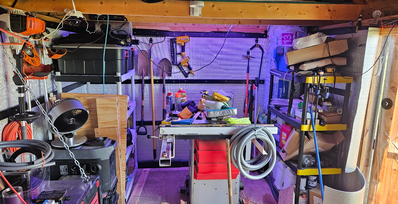
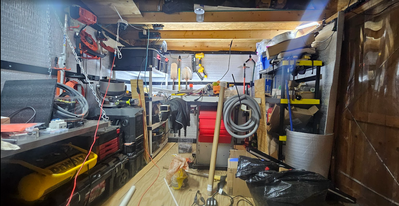
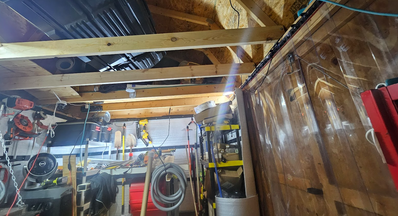
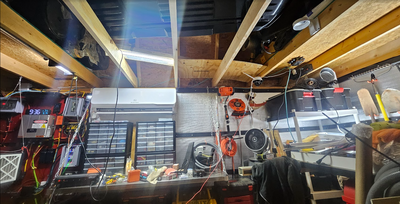
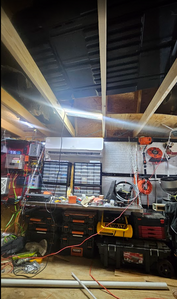
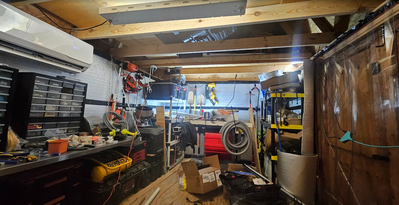
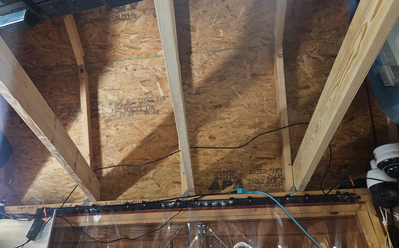
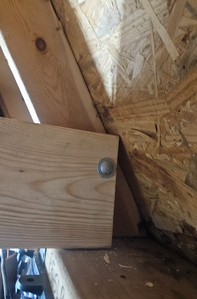
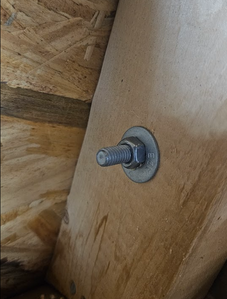
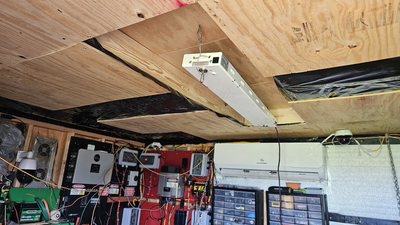
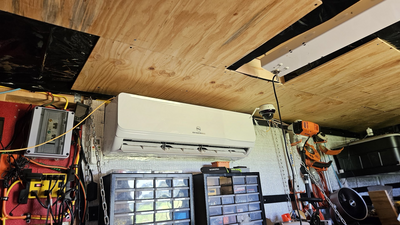
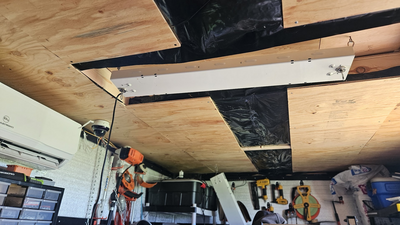
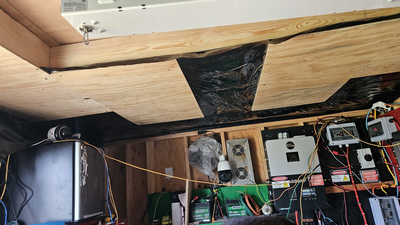
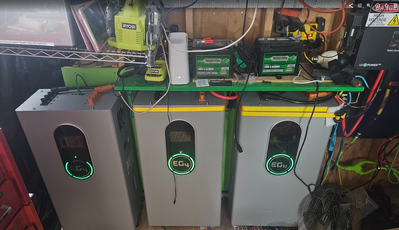
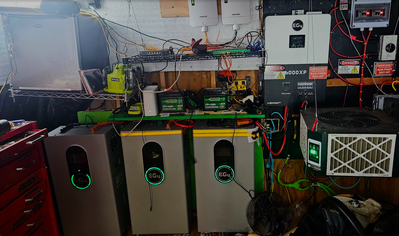
Well I now have another "issue" Dust, Dirt & Humidity. Arrrrrgggggggg
Posted in the general inverters forum and nobody wanted to go down that road. SEE Original Post HERE
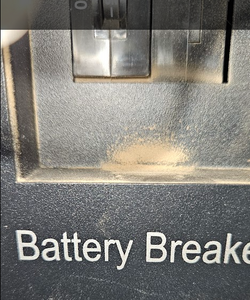
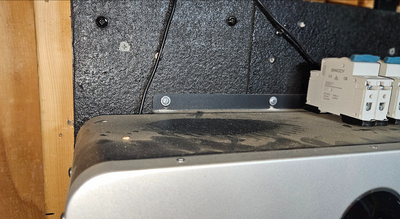
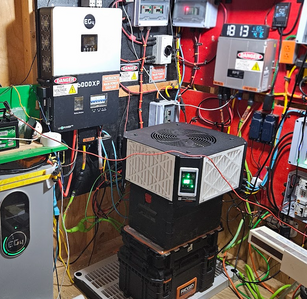
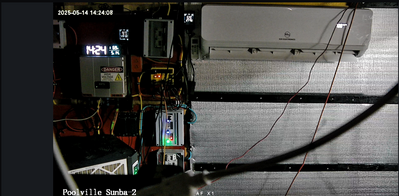
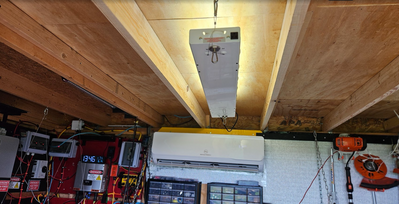
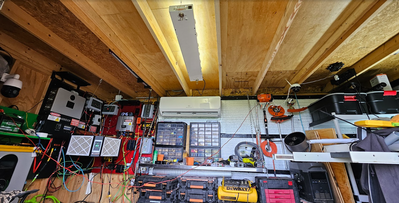
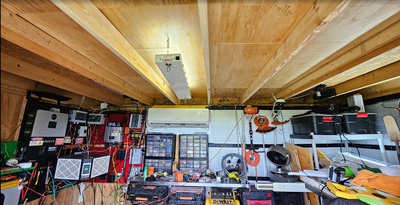
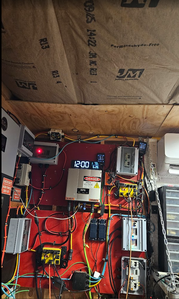
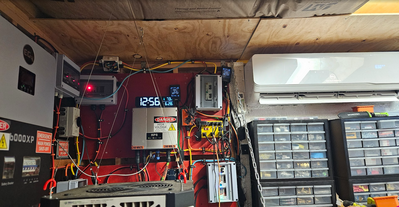
There is a layer of dust all over everything. That is easy to get rid of with a air blower and shop vac. What concerns me is the ultra fine stuff i found. My concern is that this dust is collecting on the boards and parts inside. Being in Texas that is "usually" not a big deal until you throw in a high humidity day(s). That in turns into a hot, wet blanket covering all of the boards and advancing heat damage and degradation.
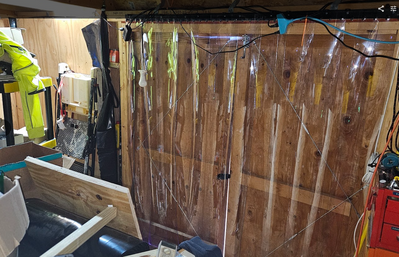
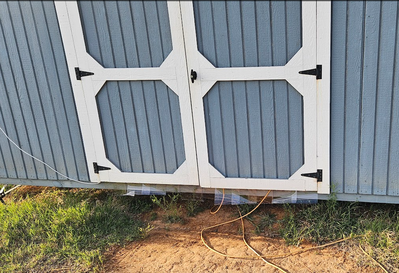
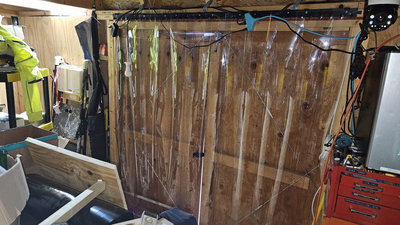
I put foam tape on all of the doors and that helped but just. I figured out that South wind that is almost non-stop was driving the dust and dirt past the doors and into the shed. My solution was to put walk-in freezer hanging door.
I also added a professional grade wood shop dust vacuum to try and filter out the as much dust & dirt as possible.
I am planning on making extensive use of the humidifier feature on the EG4 24k mini-split I am using to keep the humidity in check while we get through this hot Texas summer.
After two weeks of observations I have noticed a lot less dust. The first week I blew/wiped down all of the surfaces then closed and locked the doors with the curtain in place, and left it for a week straight and there was barely any dust visible on the black surfaces, including the filter case. The filters were just a bit brown tinged.(if forgot to take photos). The hanging plastic is a bit cheesy, however i'll cut them with a straight-edge and I'll glue 2" washers to the bottom of each strip (my neighbor has a paint bucket full of them) to act as weight to make them hang straight.
I am still hoping to get some answers from folks on this board, on what they think the best way to clean inside the inverter. I wouldn't think it would need to be done more than once a year. My thought was to power everything down, take off the covers and blow it out with air. Not up close but close enough to get the dust airborne and into the vac and filter.
TTFN
Good Evening to all of the good folks on this board!
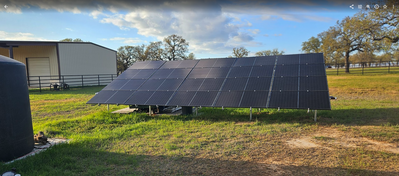
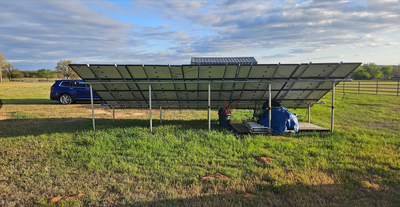
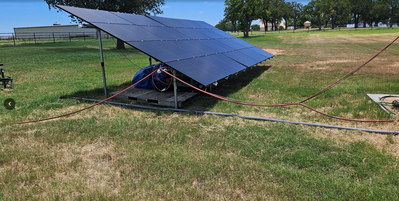
Someone asked me to describe my solar panels and the ground mount system I used.
Both come by way of the folks at RPS Solar Pumps Start Here ==> https://shop.rpssolarpumps.com/products/scalable-solar-panel-ground-mounting?_pos=2&_sid=ff9a26146&_ss=r
They not only sell the ground mount but the panels as well. Well pumps and the like until you head hurts. Then pickup the phone and call. They are very nice people and easy to talk to.
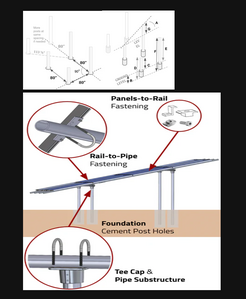
Check out the Scalable Ground Mounting Manual
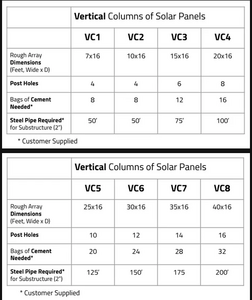
WARNING: PIPES ARE NOT INCLUDED!! They sell you kits with all of the parts and pieces you need (down to the screws and allen wrench) except the fore mentioned posts.
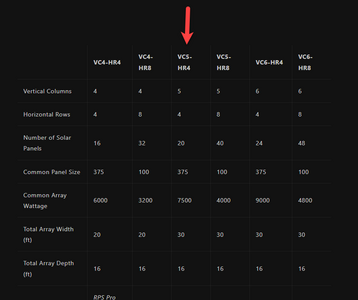
I purchased the VC5 HR4 which gives me a thirty foot wide array of 5 columns of 4 panels for a total of 20 @ 375w panels. total of 7500W.
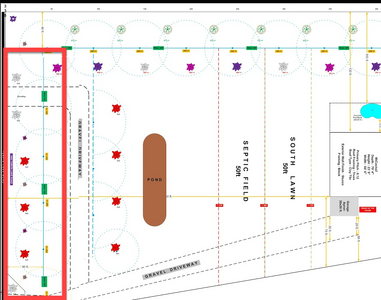
I constructed mine from 10ft x 2" galvanized pipe threaded on both ends (Home Depot & Lowes will cut AND thread for free -- if the machine is working 😀 ) . I started with each post 2.5 feet in the ground with 2.5 bags of concrete and 2.5 above (remember the threads?). Also remember that if you did get the cut pieces threaded, then put the cut end in the ground. The reason is so that the post end sticking out has threads for a coupler once you figure out your final height.
Be prepared to pay someone to dig the holes. I am used to hard work but after the second hole I went looking...
Another tip. buy they 10 lengths for your post, even if you have to cut them yourself. If you buy them already cut and threaded you will pay more! Even from HD & Lowes. OH, AND wear gloves the threaded ends will shred you bare hands.... experience the hard way here 🙁
Lots of Sunshine and Good Luck to ya!
Today is baptism day!
I continue to be blown away by this EG4 24K Mini-Split.
The temps here in the DFW area are to reach the 100's for the first time this year. This thing is a BEAST. The 10x16x15 foot (mostly uninsulated) is being maintained at 69F and the "shade temp" is 97F. I have not touched any settings in over a week.
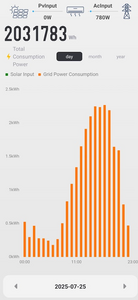
The consumption blips in the afternoon, are the well pump running (approx 2k) to fill the tank along with the mini-split.
I am now seriously considering a 12k for my home office, which is built within my garage. It can get very warm in the summer when the sun is beating on the metal garage door. The office wall is fully insulated but it gets bad enough to out pace a 7000 btu Honeywell stand-alone.
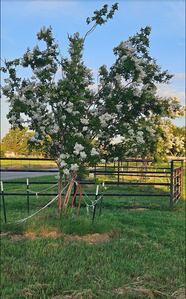
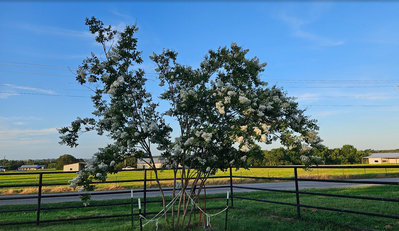
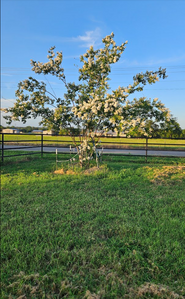
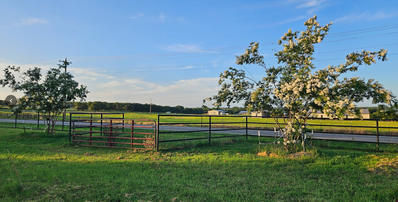
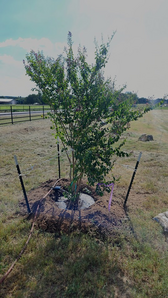
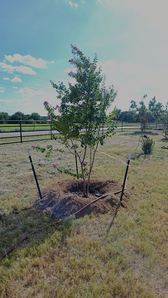
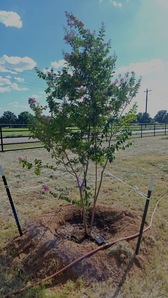
So this is what this effort has been all about.
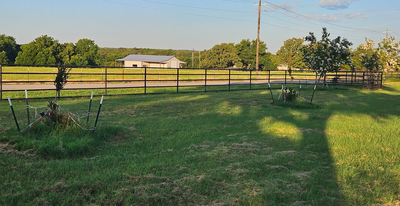
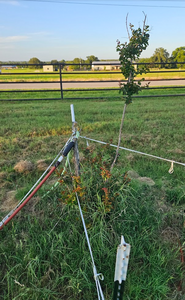
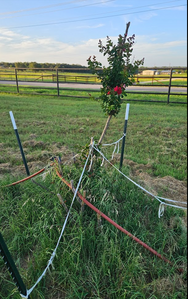
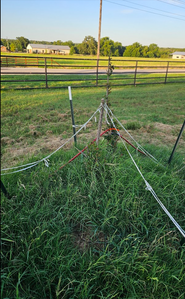
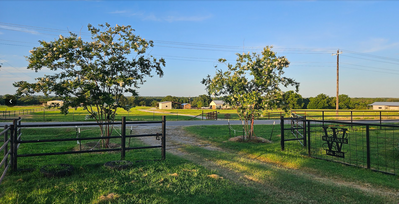
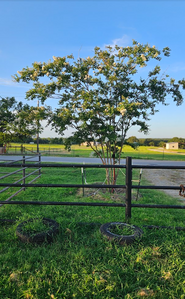
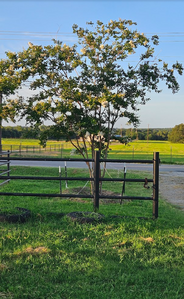
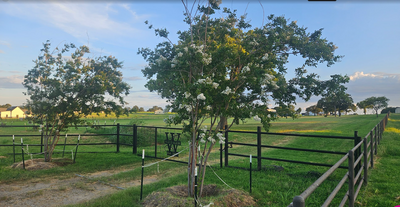
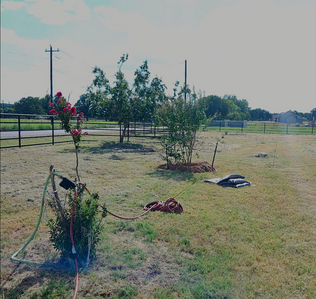
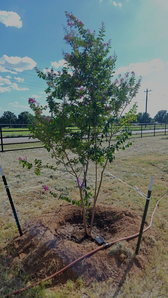
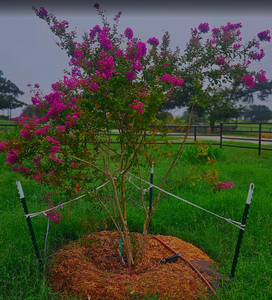
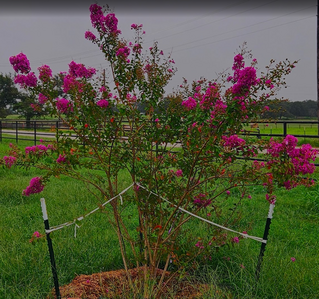
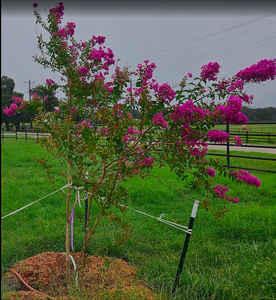
Last years trees were a disaster, this year.... ALL GOOD 😀
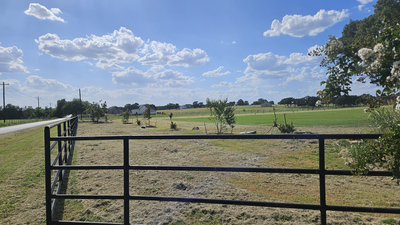
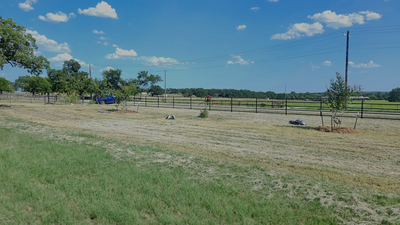
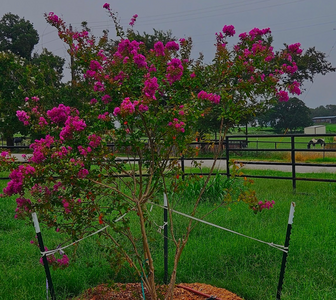
This is standing just inside the front gate. Looking towards the pump-house.
Last years fallen soldiers...
and now for the success of this year ....
The pumphouse is visible through the lower right branches 550 feet away as the crow flies (not the way the water line runs).
I also have an update on the insulation project.
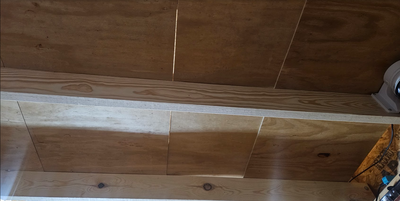
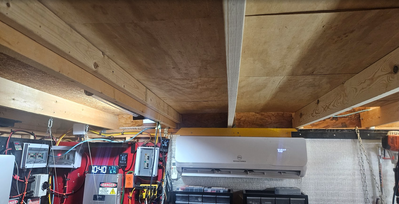
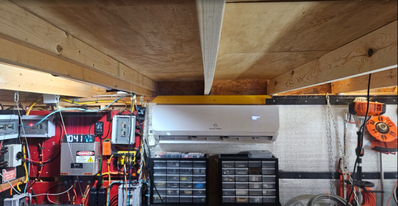
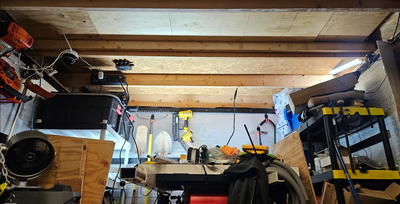
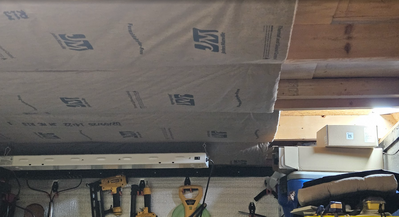
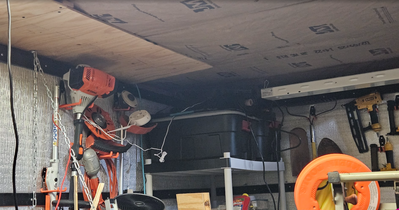
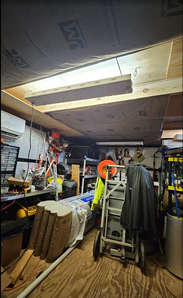
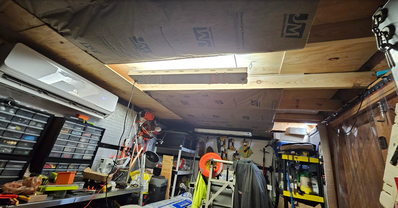
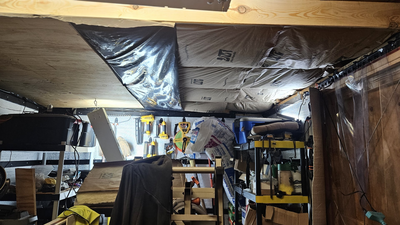
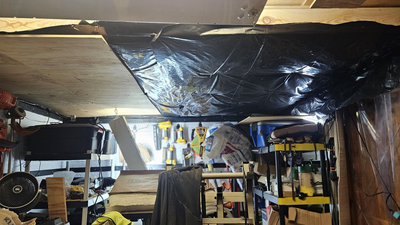
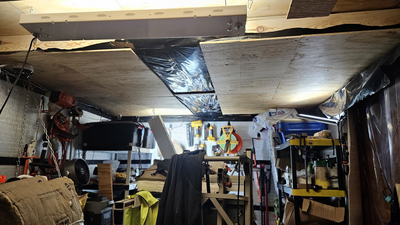
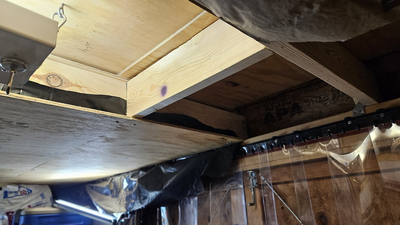
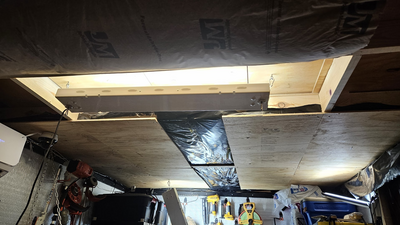
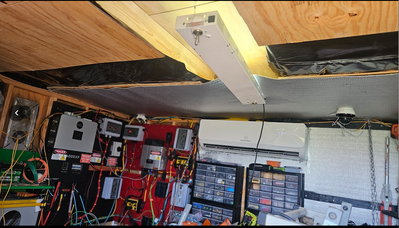
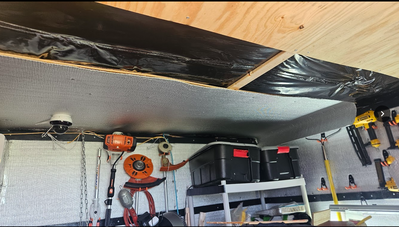
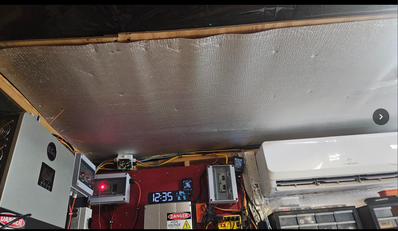
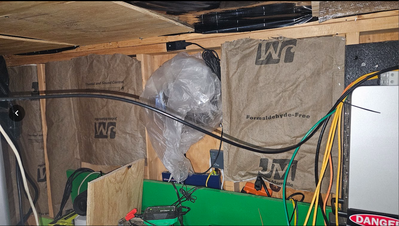
The ceiling has had the insulation installed and the first panels installed FPO (for placement only). I still need to staple up the vapor barrier and get the rest of the panels cut for final installation & close up. The insulation "plugs" are already cut and sitting off camera.
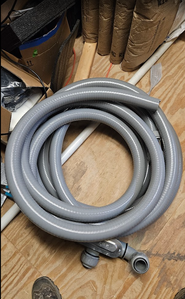
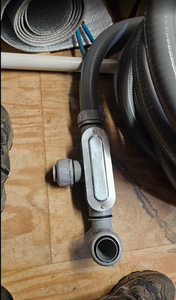
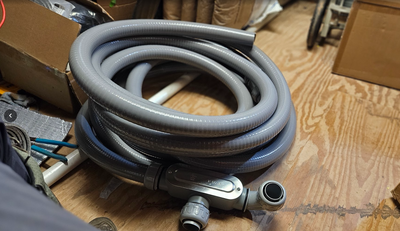
I was also finally able to buy two inch watertight conduit for a reasonable price so that I can bury all of my cables.
2 pair of 8ga solar cables
2 12ga extension cords
4 POE++ cables (2 for the panel rack and 2 to the fence line for cameras and wifii extender.)
Middle of Summer Reality Check.
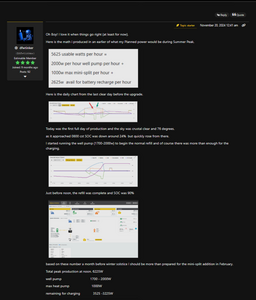
Back in a November post I presented some numbers regarding output and my plans for the future.
I also provided an up date when I purchased my second battery:
Since then I have purchased the second battery and the 24K mini-split. Now that we have been running full tilt since January. I had some issues with the freezing temps but that should have been resolved with the second battery.
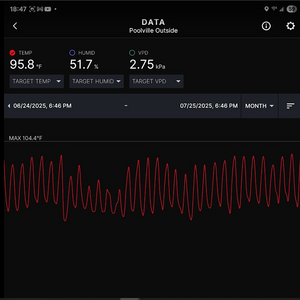
Lets start with the temps: Since July 1st it has been ruthless, and will only get worse during August & September, but it has been enough for me to get a good understanding of where things stand. Temps have crossed 100 degrees on a regular basis. Here is the temp trace for the last 30 days.
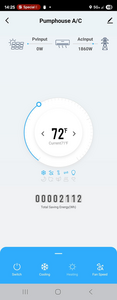
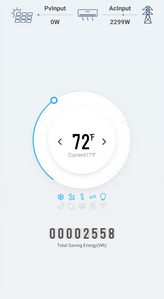
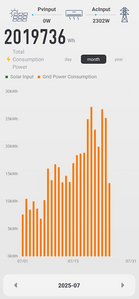
The thermostat on the A/C is set for 72 degrees 24x7. My average wattage consumed seems to be around 1300 - 2100w, with a max consumed of 2300, though it was not for long, maybe an hour and it was 102 degrees out side. I have provided a daily example on a day over 100 degrees and the max for the month of July.
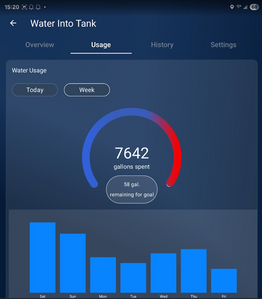
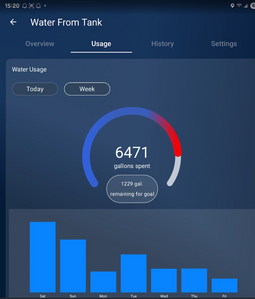
My watering issues have gotten MUCH better. I have been trying to find a "rule of thumb" to work by here in Central Texas with regards to how much water a new tree needs. The tree farms & the like tell you every other day, when temps are under 90 and daily when over. However, NO ONE has ever mentioned HOW MUCH to give each tree. I ran into an Ag Prof who is also a gardener (surprise right?), she said to use as a MINIMIM the size of the container it came in. So 65 gallons of water for a 65 gallon potted tree or shrub.
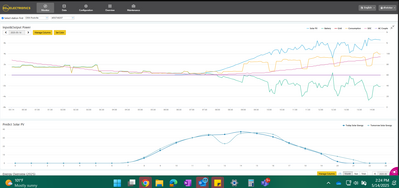
Currently I am watering 7 trees (soon to be 10) and running 4 rotary sprinklers on two alternating day cycles. On average I put down about 1000 gallons of water a night. Obviously I have to fill that and recharge the batteries after the sun comes up beginning around 0700. The rea arrow indicates my overnight water cycle. The purple is the sunrise recharge; the green arrows are the refill cycles. Because I have a low producing well, I take a pause between cycles to let the well fill a bit so I don't suck the line dry by accident. The production of the well is almost equal the capacity of the pump (it took a lot of pump tuning ( I have no idea what how they did it.)
I think the biggest surprise was how much power was actually consumed by the 24K on a regular basis.
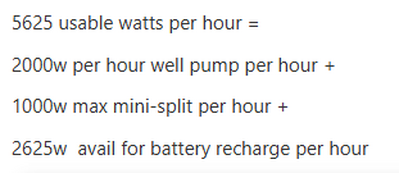
My original calculations were as follows:
Actual real world for me! 1400W per hour well pump, 600W under estimate
Actual real world avg. 1800W per hour 24K Mini Split 800W over estimate
so I had a net gain of 200W, which I promptly consumed with an air filter to keep dust down.
I am firmly convinced that I need the third battery, just for the safety margin. So with both winter and summer need verified, I will be buying my third battery in about 3 weeks if all goes well. This will max out this build and I will be FORCED to upgrade to a 12000XP, Dangit! 🤩
The End Is Near!
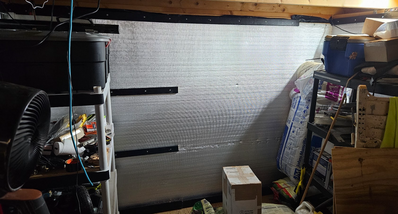
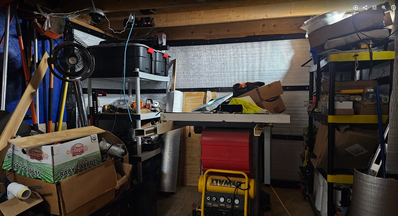
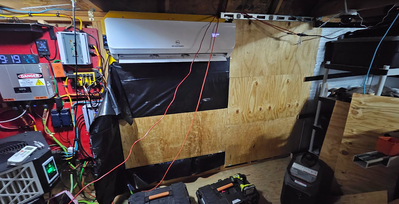
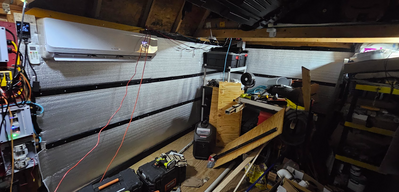
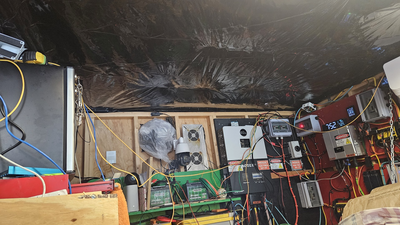
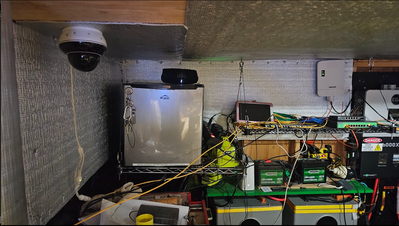
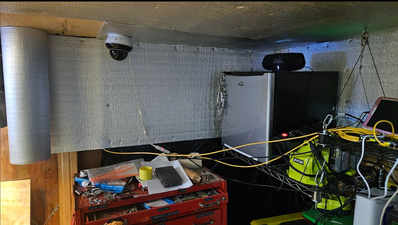
The entire shed is now fully enclosed and sealed (except the doors). So now the "Environment" being "controlled" is (10 x 6.5 x 8) or 520 cubic feet insulated down from from the original 780 cubic feet uninsulated.
I still have to cut & install the "non-standard" (8) pieces in 3 different sizes and insulation. The table-saw will make pretty short work of the plywood and my battery powered stapler will do the rest (arthritis in my hands could not take the squeezing anymore). I also need to insulate the battery and fridge corner as well. I have all of the materials so next weekend should wrap up that part as well.
Finally!
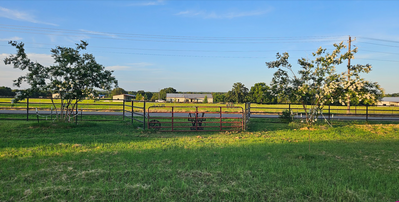
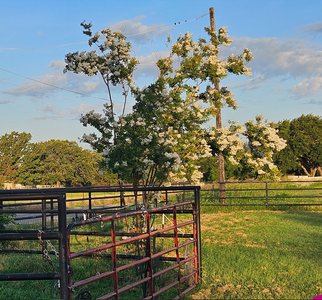
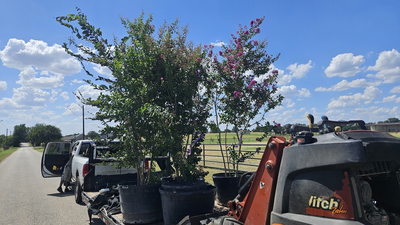
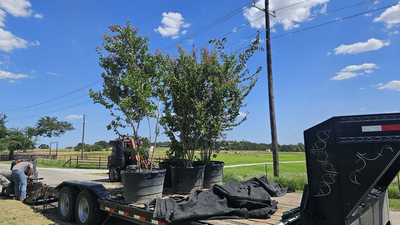
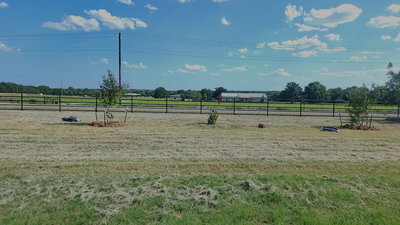
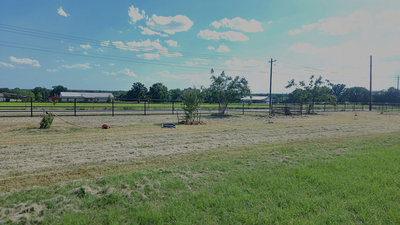
A Major Milestone - All trees along front property line have all been planted according to plan!
OK a slight adjustment was made after I tried kill the first three large dynamite red crape myrtles.
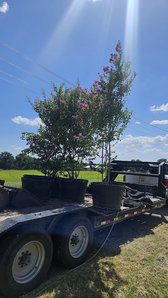
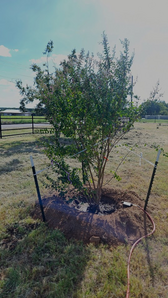
Today we planted the last three crape myrtles for the front property line. Of course today HAD to be the hottest day of the year so far 105 degrees.
They were each planted with 8cuft of moisture control soil, then watered in at once with 90 gallons each, and will enter the watering cycle tonight at 75 gallons per watering cycle.
Now I just have to maintain the cycle throughout the fall AND Winter...
The landscaper will take care of the top dressing later in the week.
Cheers!
Just in time for Fall / Winter.
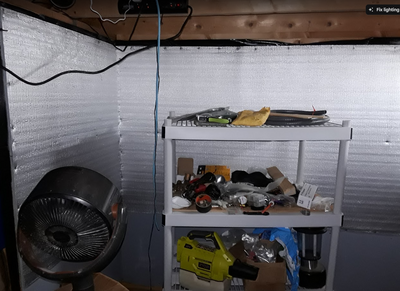
The insulation is almost complete (90%). Vendor is out of insulation and the cost has gone WAY up. I Will wait until prices adjust to new tariffs to buy more.
The thru-the-wall fan vent has been removed and filled in, then insulated and sealed with the rest of the wall. I will try and do the door with cut 1.5 inch foam cut to size and spray glued to the doors. Then cover with silver foam insulation material when I get more.
Until then, we wait.
Well I have now maxed out my 6000xp.
7200 watts on two strings and 3 indoor batteries.
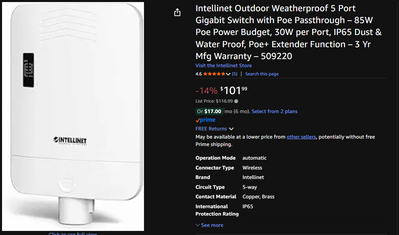
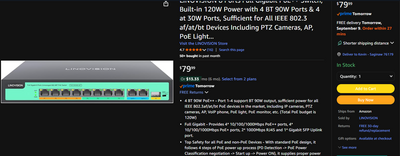
I also found some 4 port POE++ "extenders". I have converted a couple of my cameras to POE + and both wifi-extenders are POE+. I'll update on how well they do.
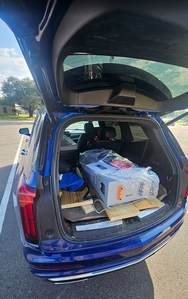
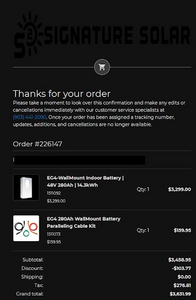
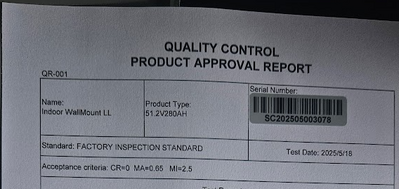
I purchased & picked up the last battery on Sept. 1. 2025 from Signature Solar. The only price change was the increase in the cable set. $50.
L8r all!
My apologies; It has been awhile since i posted. I've been very busy with a large project at work, which is now winding down.
Well we have come full circle since opening this blog!
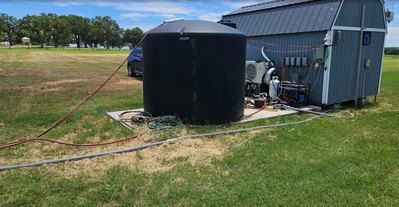
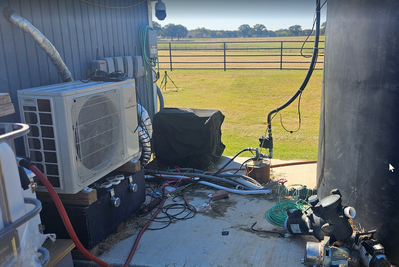
Last January I was wondering how my outdoor pumping equipment would survive the winter here in North Central Texas. See this url to refresh ==> REFRESH
Now we know... POORLY. (See pile of junk in lower right corner). The Jacuzzi pump is just something I had left over from my 2000 gallon pond that I retired 5 years ago.
Alas it did not have the power to move water that far and the power consumption was horrid!
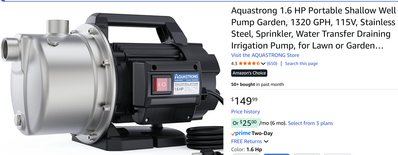
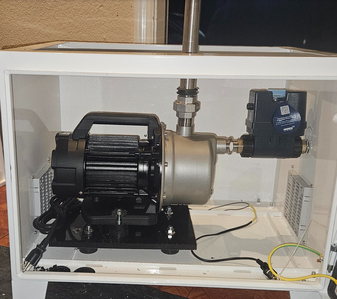
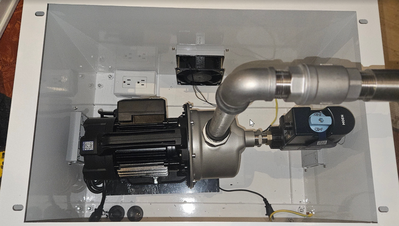
I finally found a single 110v pump that would do the trick
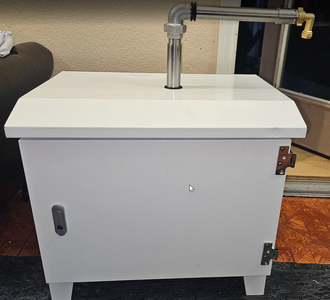
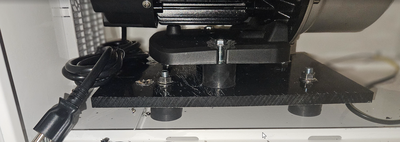
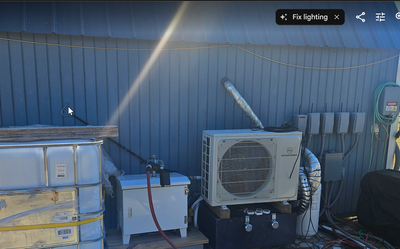
I also found a cabinet to keep the pump and valve out of the wind. I also mounted it on rubber feet (noise was unreal). As a final move i wrapped the heating tape from last year around the pump and valve (yeah, its ugly, but it works! I think 100 ft is a bit too long 😉 ). I have been through a couple of freezes already and it seems sound. Only time will tell.
- 37 Forums
- 1,010 Topics
- 5,468 Posts
- 16 Online
- 1,574 Members

